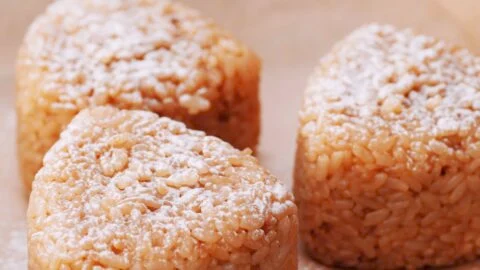
These Yaki Onigiri, or grilled rice balls, have a layer of fluffy rice sandwiched between two ultra-crispy layers of browned rice. Seasoned with butter and soy sauce, they make a mouth-wateringly delicious meal from just a few basic ingredients.
Yaki Onigiri (焼きおにぎり) is traditionally made by grilling rice balls over charcoal until the rice starts to brown and crisp. Then they’re brushed with either miso or soy sauce and then roasted until the seasoning forms a toasty caramelized glaze on the outside of the onigiri. The flavor that the charcoal imparts is undeniably good, but the texture usually ends up being somewhere in between crunchy and chewy, and not in a good way.
How to Make Yaki Onigiri

| Prep Time: 5 minutes | Cook Time: 40 minutes |
| Total Time: 45 minutes | Yield: 3 rice balls |
Ingredients for Yaki Onigiri
For rice
- 160 grams of Japanese short-grain rice (1 rice cooker cup or ¾ US cup)
- 1 cup of water
For onigiri
- 2 tablespoon soy sauce
- 1 teaspoon potato starch
- 1 tablespoon vegetable oil
- 1 tablespoon cultured unsalted butter
Instructions
Step One

Use the measuring cup and water lines on the cooker bowl to cook 1 rice cooker cup of rice.
Step two

If you’re doing it on the stove, wash the rice in a few changes of water until it runs mostly clear. Drain it in a sieve. Add the rice to a tall pot along with 1 US cup of water. Cover the pot with a lid, and then bring the water to a boil over high heat. As soon as it’s boiling, turn the heat down as low as it will go. Set a timer for 13 minutes. After the timer goes off, turn the heat off and let the rice continue steaming for another 10-15 minutes. Do not open the lid at any point during the cooking or steaming process.
Step three

Once it’s done steaming, pour the soy sauce evenly over the rice and use a folding and cutting motion with a spatula or rice paddle to evenly distribute the soy sauce until the rice is uniform in color.
Step Four

Level off the top of the rice and then divide it into thirds like a pizza.
Step Five

If you’re shaping the onigiri by hand, click this link for specific instructions. If you’re using an onigiri press, just get it wet and stuff each mold with a segment of rice. Press the onigiri together more than you normally would for onigiri so that it holds its shape.
Step Six
Put the onigiri on a parchment-lined tray. Dust each onigiri with a thin layer of potato starch by passing it through a fine-mesh sieve like a tea strainer. Flip the onigiri over and dust the other side. Try not to get starch onto the sides of the onigiri.
Step Seven

Put a non-stick frying pan over medium-low heat and when it is moderately hot, add about half of the oil and arrange the onigiri, so they’re sitting on a small pool of oil.
Step Eight
Fry undisturbed until they’re golden brown and crisp on one side (about 7-10 minutes).
Step Nine

Flip them over, and then add a bit more oil to fry the second side until crisp and browned.
Step Ten
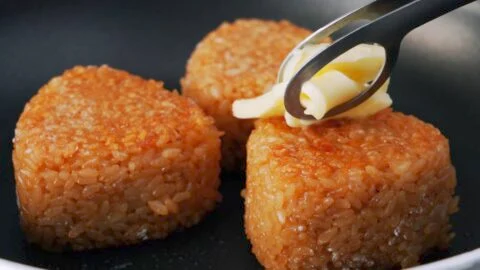
Finish the Yaki Onigiri off by melting some butter directly onto each browned surface of the onigiri and then roll them on their 3 sides to cook any stray starch.
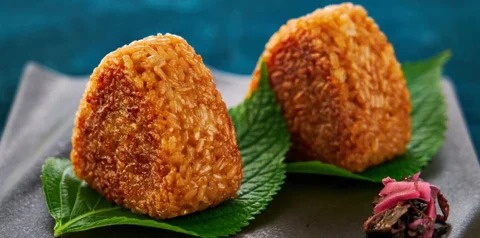
Serve the grilled rice balls wrapped in shiso or nori.
Nutrition
Calories 274kcal | Carbohydrates 43g | Protein 5g | Fat 9g | Saturated Fat 6g | Trans Fat 1g | Cholesterol 10mg | Sodium 708mg | Potassium 74mg | Fiber 2g | Sugar 1g | Vitamin A 117IU | Vitamin C 1mg | Calcium 8mg | Iron 3mg