

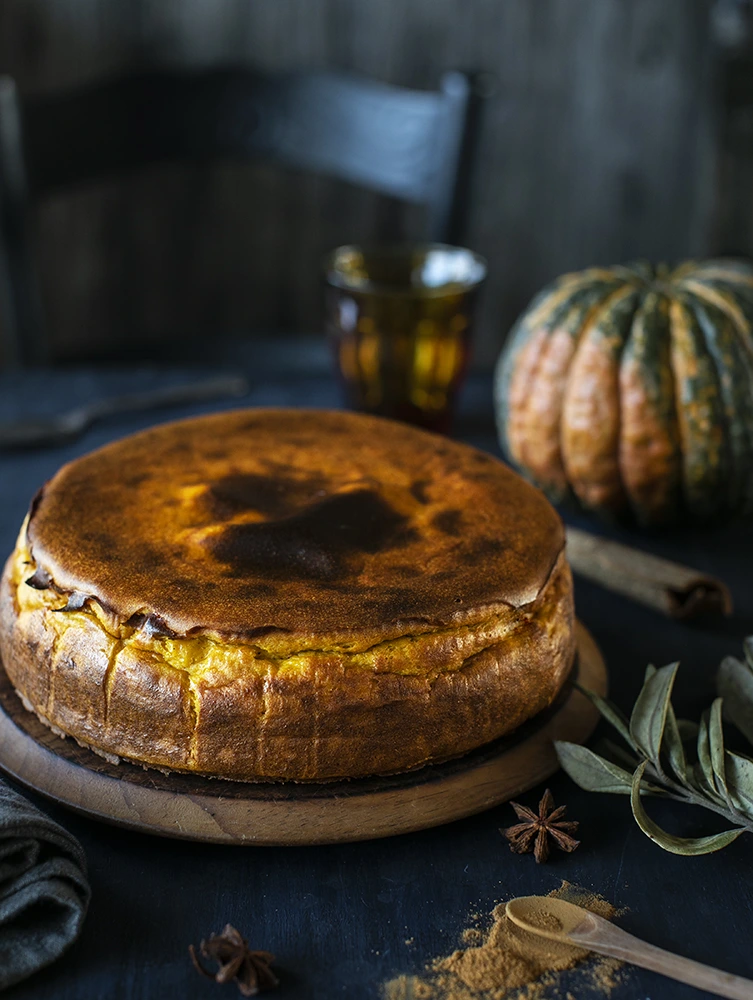
How to Make Burnt Spiced Pumpkin Ricotta Cheesecake? This unique cheesecake is light, creamy, airy, full of pumpkin flavour, lightly sweetened, and perfectly spiced with freshly ground spices.
Contents
show
The ricotta cheese gives this cake a unique flavour and makes it light and fluffy. Ricotta cheesecake is much lighter than a traditional cream cheese cheesecake.
Forgot everything you thought you knew about cheesecake recipe etiquette and flips it on its head. Burned top, beautiful cracks, no biscuit base, and is cooked at a high heat without a water bath!
Today I’m so excited to share with you my new recipe.
It is absolutely delicious. Stop the excuses to eat two slices in one sitting.
What should you know about while making this recipe:
- I would recommend using buttercup squash in this recipe. Buttercup has a sweet, nutty flavour and relatively dry flesh.
- A 23cm springform cake pan is perfect for this recipe. Line it with a sheet of parchment paper, and ensure that the parchment rises at least 5cm above the pan on all sides. Grease the paper with butter (or use canola cooking spray).
- Freshly ground spices are the key to amazing flavour in my newest cheesecake recipe. Worried that packaged supermarket spices won’t have the flavour or freshness, and smells like the dust from Indian roads? Investigate your neighbourhood for an Indian grocery shop. Once you try freshly ground cinnamon, cardamom and ginger powder, you’ll see this huge difference.
How to Make Burnt Spiced Pumpkin Ricotta Cheesecake
| Prep Time: 35 minutes | Cooking time: 1 hour 20 minutes | Servings: 12 servings |
Ingredients
- 1/2 buttercup squash, peeled and cut into chunks (2 cups of pumpkin puree)
- 1kg fresh ricotta (I use two ricotta tubs, 500g each)
- 3/4 cup fine sugar
- 6 large eggs (size 7)
- 1/2 cup plain flour
- 1 teaspoon vanilla extract
- 1/2 teaspoon ginger powder
- 1 teaspoon cinnamon powder
- 1 teaspoon cardamom powder
Directions
- Pumpkin puree. Bring the water to a boil. Place the pumpkin cubes in the steamer basket and set the lid on the pot. Reduce the heat and simmer the water for 25 minutes. Stick a fork into a pumpkin cube to check for softness. The pumpkin will be soft when cooked. Transfer the pumpkin to a high-speed blender and blitz until smooth puree. Chill the pumpkin puree. You will need 2 cups of pumpkin puree.
- Preheat the oven to 200C.
- Line a 23cm springform cake pan with a sheet of parchment paper, and ensure that the parchment rises at least 5cm above the pan on all sides. Grease the paper with butter (or use canola cooking spray).
- In a stand mixer on a medium-high speed mix together the room-temperature ricotta cheese and sugar until the mix is very smooth, no lumps, and sugar dissolved. Scrape down the sides of a mixer bowl using a silicone spatula from time to time. One by one add the eggs, increase the speed, then add vanilla extract and pumpkin puree, again mixing until very smooth. In a small bowl mix well the flour and spices. Add the flour in the ricotta cheese mixture one tablespoon at a time. Beat until the batter is very smooth, and silky.
- Pour the batter into the prepared springform cake pan. Set the pie pan onto a baking sheet, to prevent leaks. Bake for about 1 hour and 20 minutes. It should have a golden-brown top, but still, be quite jiggly in the centre when it’s time to remove.
- Remove the cheesecake from the oven, and set it on a rack to cool. Once the cake is cool, refrigerate it, covered, until you’re ready to serve it.


")

