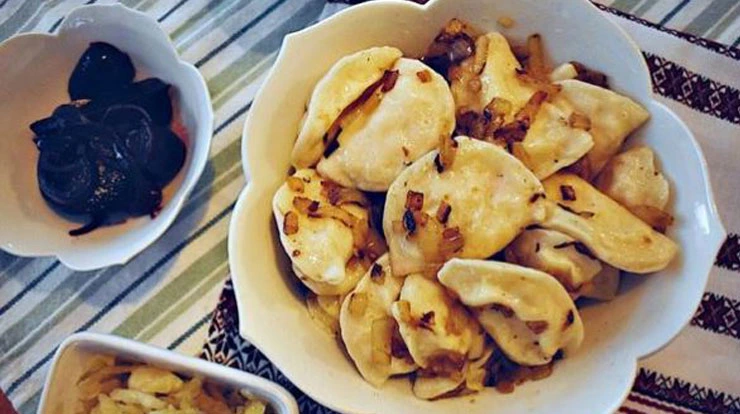
This traditional Ukrainian perogies recipe has been passed down through generations in my family. It uses simple, frugal ingredients, and makes enough to feed a small village, just like back in the old country:)
Contents
show
Ingredients
For the Filling:
- 5 lbs. potatoes (large russet potatoes work best)
- 1 lb. brick of sharp cheddar cheese, grated
- 1 onion, diced and sautéed in butter
For the Dough:
- 6 cups all-purpose flour
- 2 tsp salt
- 2 cups warm water (potato water from the filling is the best)
- 2 Tbsp vegetable or olive oil
- 2 large eggs lightly beaten
Instructions
Make the Filling:
- Peel potatoes and cut them into quarters. Cook in boiling water until soft enough to mash.
- Drain well. Reserve 2 cups of potato water for dough (optional: You can just use regular water but potato water works really well for making perogy dough!)
- Return potatoes to the pot and add the grated cheese and sautéed onion. Mash until smooth and all ingredients are well combined. Place the filling in the fridge to cool. Prep filling ahead of time and let it cool overnight if possible. Otherwise, let cool for at least an hour or so while making the dough.
Make the dough:
- In a large bowl, sift flour and combine with salt. Mix together the water, the oil, and the egg, and pour half of this mixture into the flour. Mix and slowly add the remaining liquid. Knead by hand until flour and liquid are well combined. You may need to add a small amount of either flour or water, depending on the consistency of the dough. You should end up with a ball of dough that is very pliable but not sticky.
- Wrap the dough in plastic wrap or a clean plastic bag and let the dough rest for at least 30 minutes.
Assembling Perogies:
- Cut dough in half or in thirds, keeping unused dough well wrapped in plastic until needed. Flour the table or counter lightly and roll the dough to about 1/8 inch thickness.
- Cut the dough in rounds using a biscuit cutter or a small, upside-down drinking glass.
- Fill each round of dough with about one tablespoon of potato filling and seal the edges of the dough together with your fingers. Make sure there are no gaps when pinching the edges because if there are, your perogies will boil out when you cook them and you’ll be left with just the dough (although this is still really yummy).
- To cook, bring a pot of water to a boil and cook in small batches (10-15 perogies at a time), stirring gently to prevent dumplings from sticking together. Perogies are finished cooking when they float to the top.
- Use a slotted spoon to remove them from the water and drain before transferring them to a serving bowl. Toss with butter and serve hot with sour cream. Add fried onions and. or bacon bits to take your perogies to the next level!
- To freeze perogies, place them in a single layer on a baking sheet lined with parchment paper and flash freeze them. You can layer parchment paper on top of perogies to freeze more on one tray, just don’t let the perigees touch each other or they will stick together. Once perogies are frozen solid, transfer them to a freezer bag and store them for up to 6 months.


