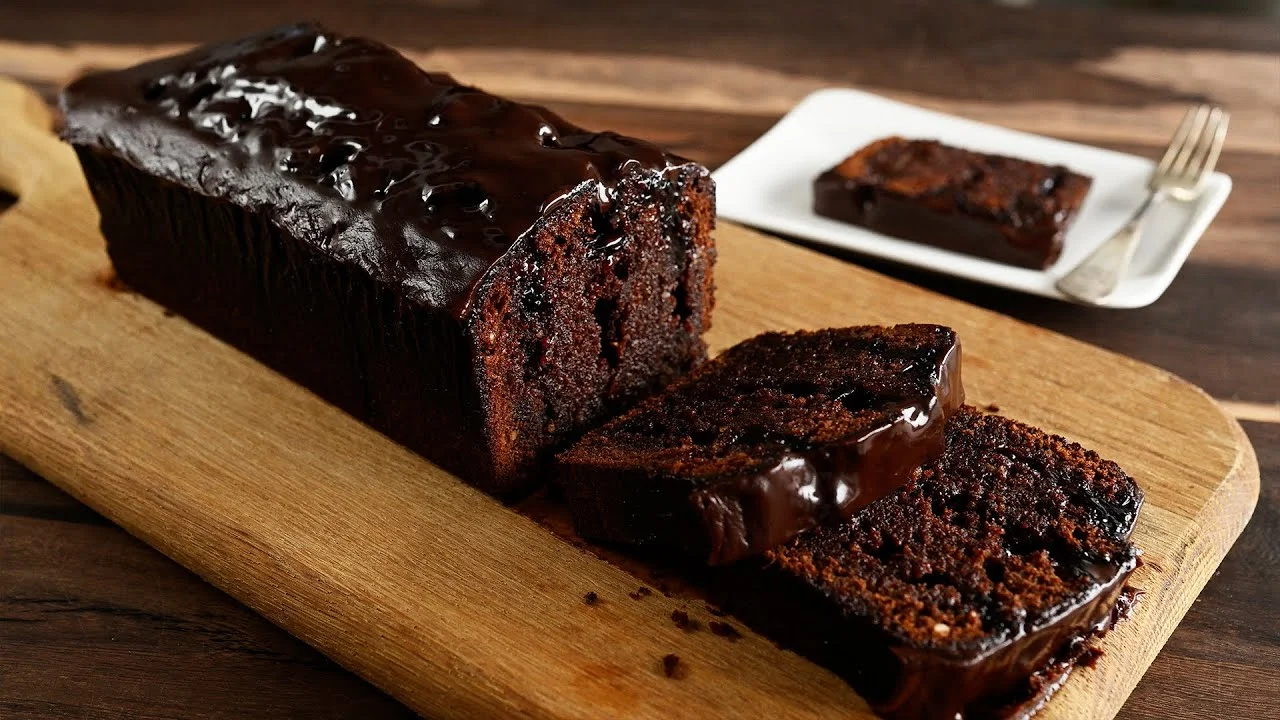
Chocolate Lava Cakes– Do you want to indulge in the rich, velvety goodness of a chocolate lava cake? This decadent dessert may seem intimidating to make at home, but it’s actually quite simple! In this article, we’ll walk you through the steps to create a warm and gooey chocolate lava cake that will impress your family and friends.
Contents
show
What is a Chocolate Lava Cake?
Before we dive into the recipe, let’s define what a chocolate lava cake is. Also known as a molten chocolate cake or a chocolate fondant, a chocolate lava cake is a small chocolate cake with a liquid chocolate center. When baked, the edges of the cake become firm while the center remains liquid, creating a lava-like effect when cut open.

| Prep Time: 10 minutes | Cook Time: 14 minutes | Total Time: 25 minutes | Yield: 4 or 6 cakes |
6 Simple Ingredients to Make Chocolate Lava Cakes
- 6 ounces (170g) high-quality semi-sweet chocolate*
- 1/2 cup (113g; 1 stick) unsalted butter
- 1/4 cup (31g) all-purpose flour (spooned & leveled)
- 1/2 cup (60g) confectioners’ sugar
- 1/8 teaspoon salt
- 2 large eggs
- 2 large egg yolks*
- optional for topping: ice cream, berries, and/or chocolate syrup
Instructions to Make a Perfect Chocolate Lava Cakes

- Spray four 6-ounce ramekins with nonstick cooking spray and dust with cocoa powder. This ensures the cakes will seamlessly come out of the ramekins when inverted onto a plate in step 7. Or spray half of a 12-count muffin pan and dust with cocoa powder. If baking in a muffin pan, the recipe will yield 6 cakes.
- Preheat oven to 425°F (218°C).
- Coarsely chop the chocolate. Place butter in a medium heat-proof bowl, then add chopped chocolate on top. Microwave on high in 10-second increments, stirring after each until completely smooth. Set aside.
- Whisk the flour, confectioners’ sugar, and salt together in a small bowl. Whisk the eggs and egg yolks together until combined in another small bowl. Pour the flour mixture and eggs into the bowl of chocolate. Slowly stir everything together using a rubber spatula or wooden spoon. If there are any lumps, gently use your whisk to rid them. The batter will be slightly thick.
- Spoon chocolate batter evenly into each prepared ramekin or muffin cup.
- Place ramekins onto a baking sheet and bake for 12–14 minutes until the sides appear solid and firm; the tops will still look soft. *If baking in a muffin pan, the cakes only take about 8–10 minutes.
- Allow to cool for 1 minute, then cover each with an inverted plate and turn over. Use an oven mitt because those ramekins are hot! The cakes should release easily from the ramekin. *If you used a muffin pan, use a spoon to release the cakes from the pan and place each upside down on plates.
- Add toppings. Serve immediately.
Chocolate Lava Cakes Recipe’s Notes
- Make Ahead & Freezing Instructions: You can prepare the batter through step 4. Cover tightly and refrigerate for up to 2 days. Allow coming to room temperature (takes a couple of hours) before continuing with step 5. You can freeze the baked lava cakes for up to 3 months. Allow them to cool completely before freezing. Reheat in the microwave.
- Special Tools: 6-Ounce Ramekins or Muffin Pan | Glass Mixing Bowls | Whisk | Spatula or Wooden Spoon | Baking Sheet
- Chocolate: Make sure to use high-quality chocolate, not chocolate chips. You won’t have much “lava” with chocolate chips. I always use pure chocolate baking bars (found in the grocery store baking aisle), such as Baker’s, Ghirardelli, or Lindt. They’re typically sold in 4-ounce bars, so you will need 1 and 1/2 bars total.
- Eggs: For this recipe, you need 2 whole eggs plus an additional 2 egg yolks. (Use the 2 extra egg whites in an omelet or in any of these recipes with egg whites.) After 10–14 minutes in an oven this hot, the eggs should be cooked to 160°F, which is considered safe to eat. If you’re concerned, you can take the temperature with an instant-read thermometer to be sure.


